Building Your Catalog
Add products to your Keepp store — upload a photo, write the details, and set a call-to-action.
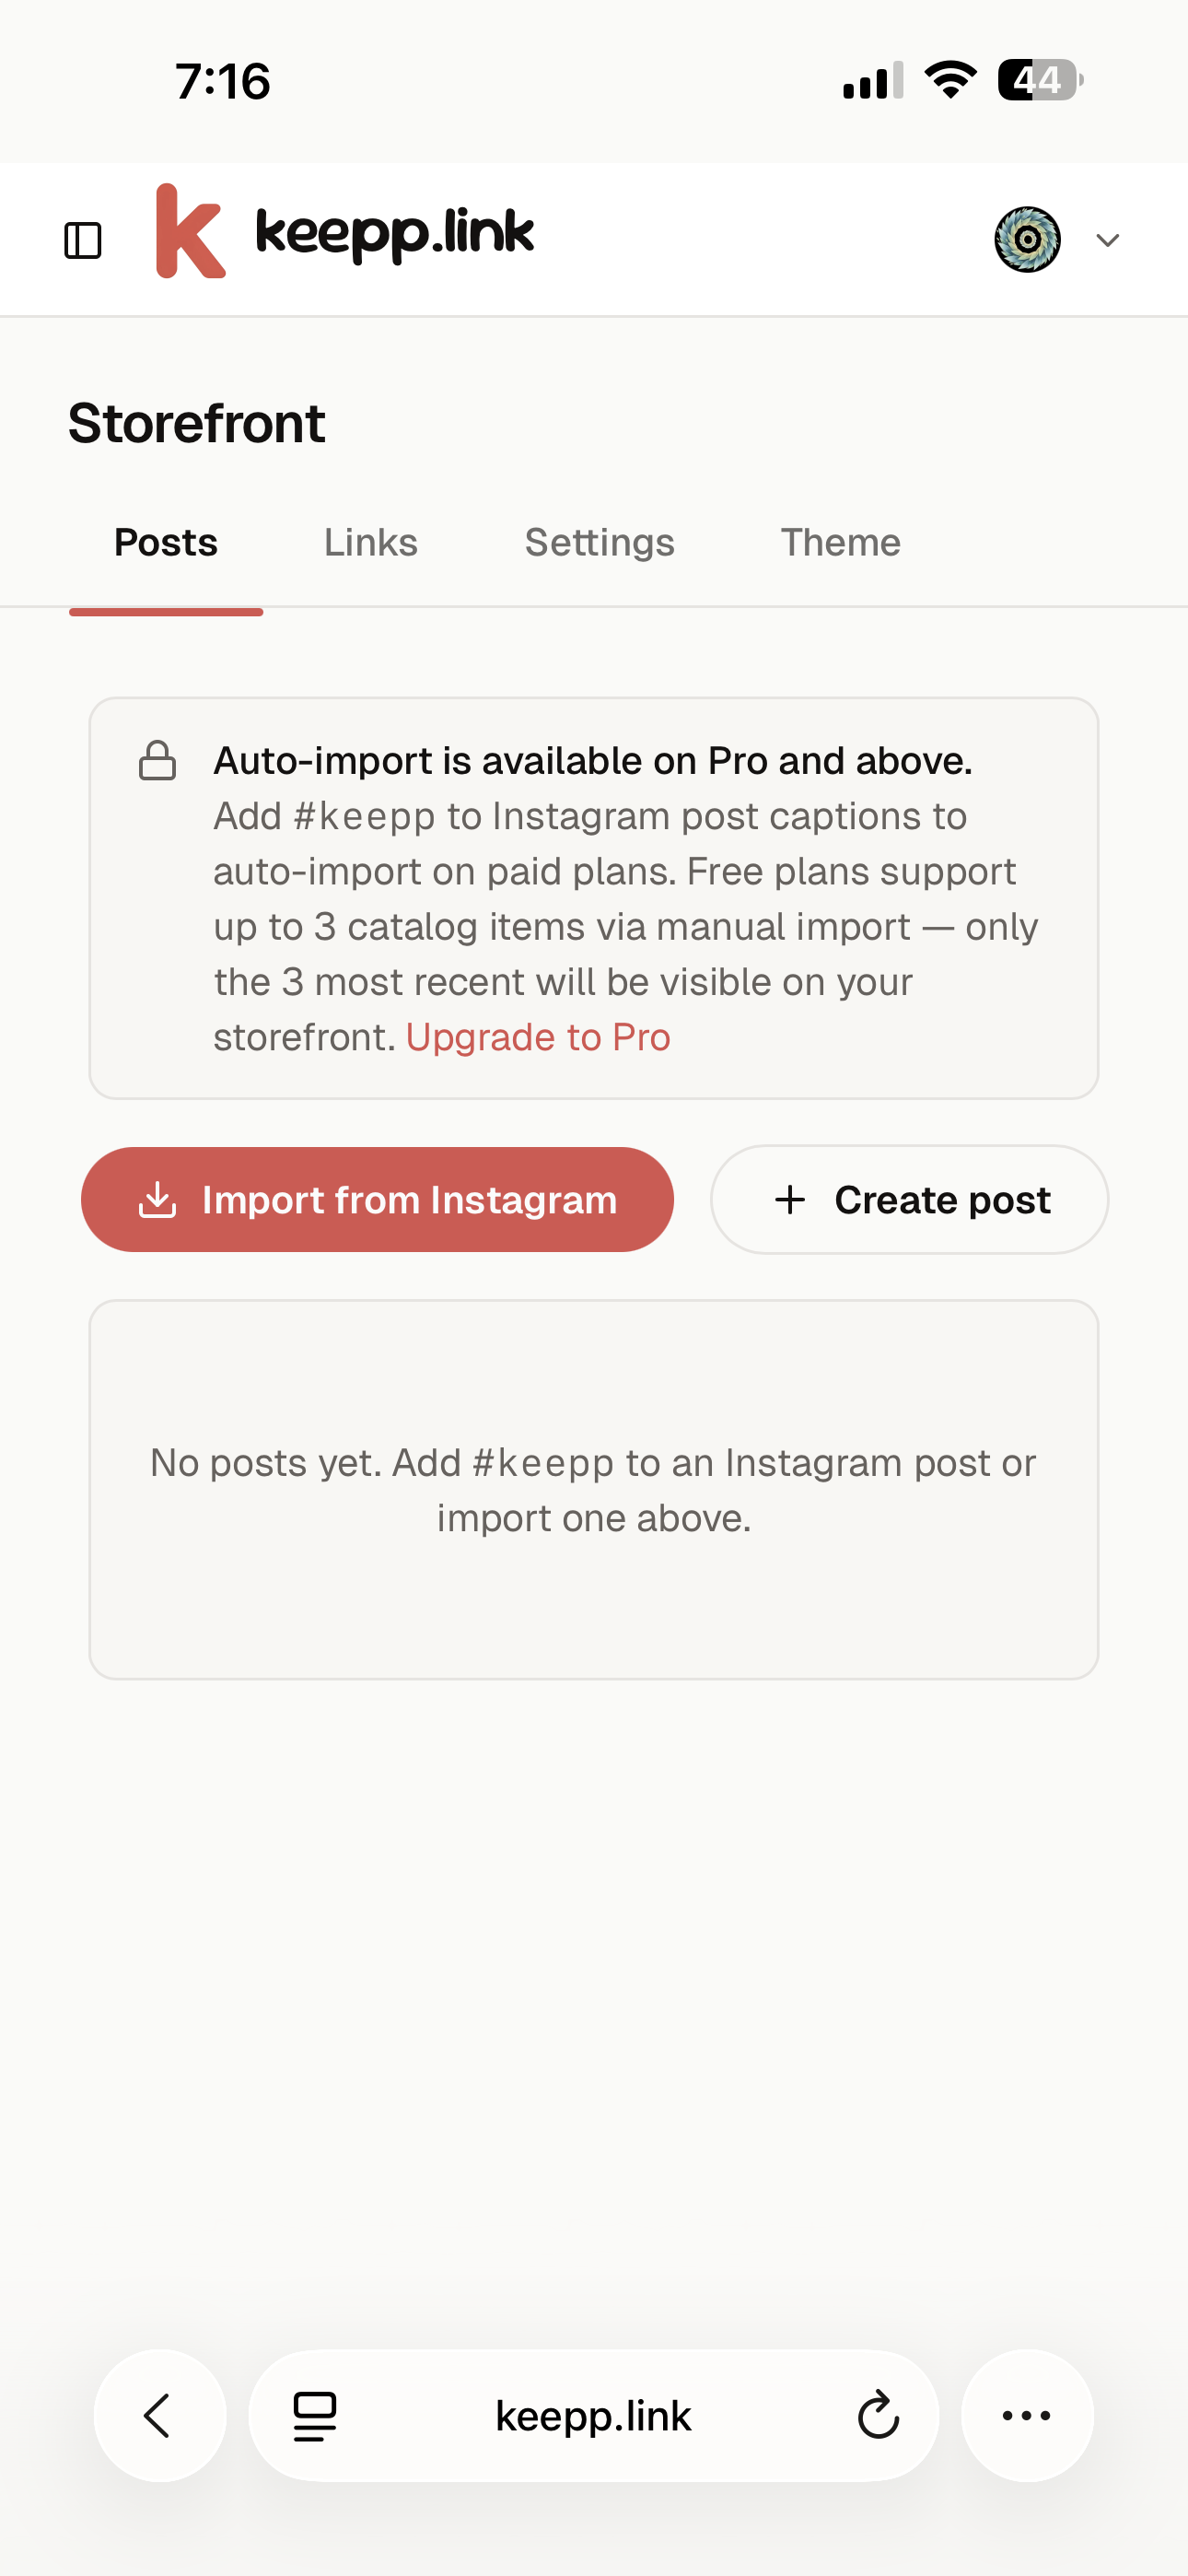
Adding a product
Your catalog is a set of product cards on your storefront. You add them yourself, one at a time — on any plan.
- Go to Storefront → Posts in your admin dashboard
- Tap Create post
- Upload one or more photos of the product
- Write a caption with the details — name, price, and anything a buyer needs to know
- Choose what the card’s button does (a link or a lead form), or use your storefront default
- Save — it goes live on your store immediately
There’s no draft or review step. As soon as you save, customers browsing your storefront can see the product.
Setting the call-to-action
Each card has a button. You decide what it does — open a checkout or external link, or open a lead form that captures the shopper’s contact. You can set a default for the whole store and override it per product. See Setting per-post CTAs and custom links and Setting up lead capture.
Editing after you add it
You can update any field later. Tap a post in your Posts tab, edit the fields you want to change, and save. Changes show on your store immediately.
Free plan limit
On the free plan, only your 3 most recently added products are visible on your store. Add as many as you like — customers will see the 3 newest until you upgrade.